Sculpting is one of the oldest and most expressive art forms, allowing creators to transform raw materials into works of beauty, meaning, and emotion. Whether you’re working with clay, stone, wood, or modern mediums like polymer, mastering the basics — and then building on them — can take your skills to the next level. This guide offers six approachable yet impactful tutorials to help you sculpt like a pro.
Mastering Basic Clay Techniques
Before diving into complex projects, it’s essential to understand the foundational techniques that form the backbone of most sculpting styles. Clay is one of the most forgiving and versatile materials for beginners and professionals alike.
- Pinching – Shaping clay by pressing between your fingers and thumb.
- Coiling – Rolling clay into long ropes and stacking them to build forms.
- Slab Building – Flattening clay into sheets and cutting shapes to assemble.
- Scoring and Slipping – Roughing up surfaces and adding slip to join pieces.
- Smoothing – Using fingers or tools to refine surfaces before drying.
By practicing these core methods, you’ll gain control over form, texture, and structure, setting a strong foundation for more advanced work.
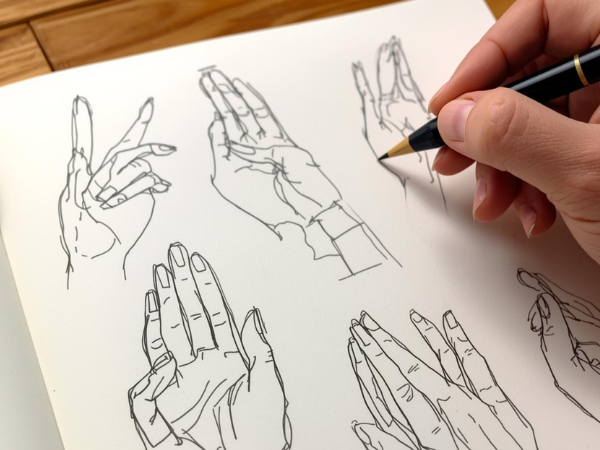
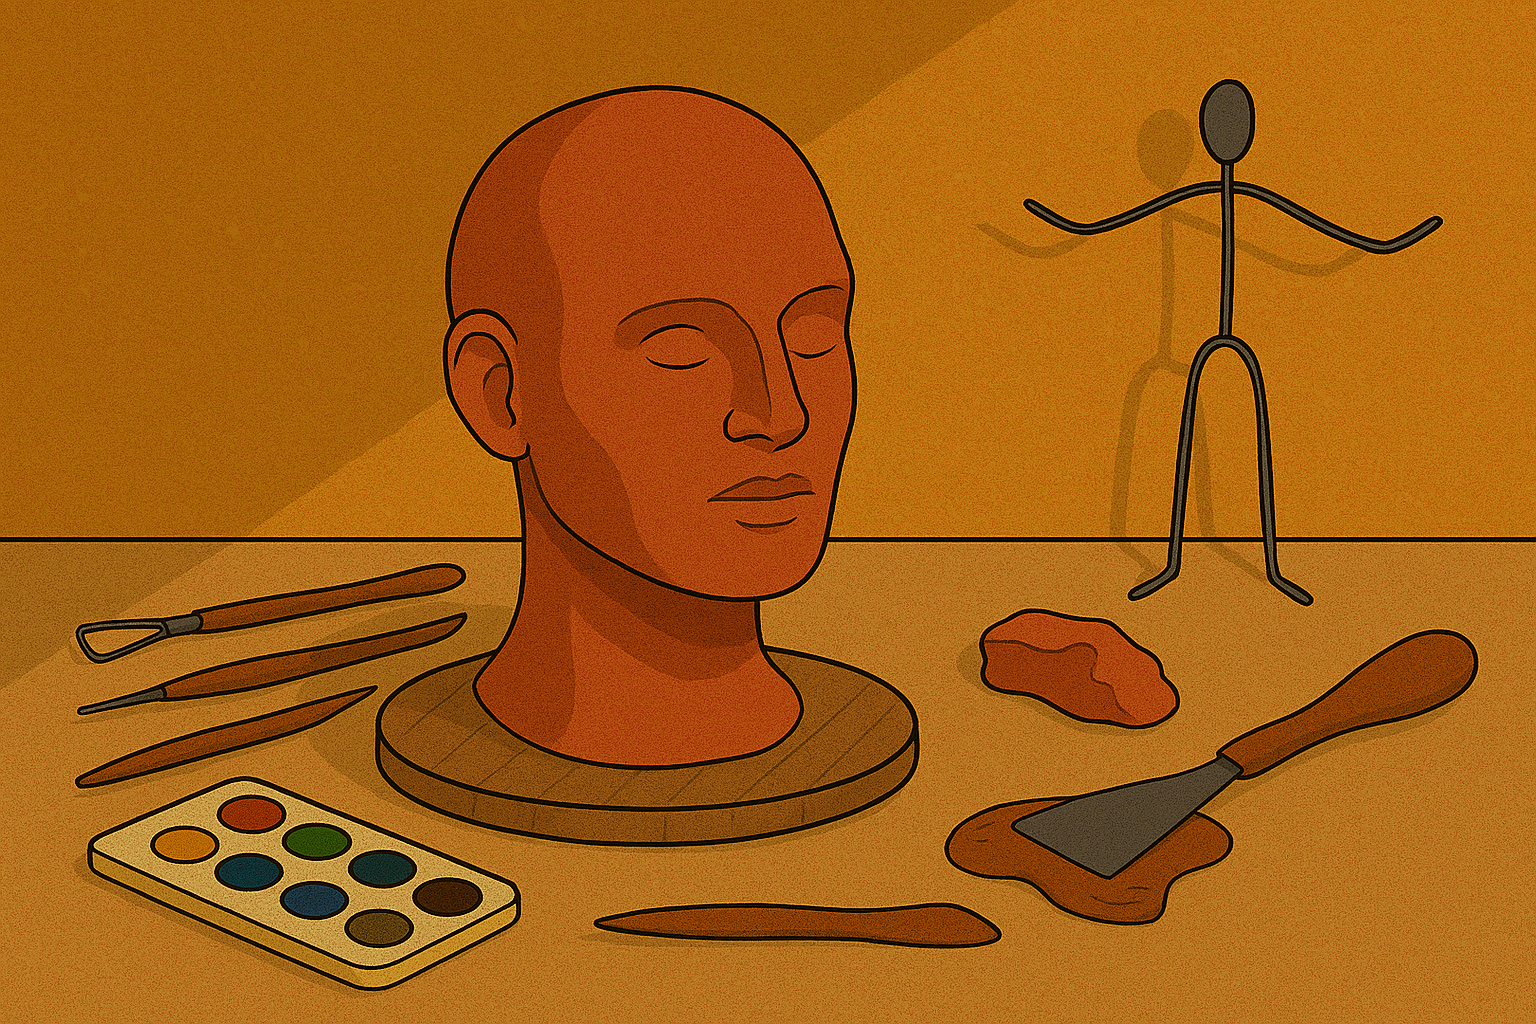
Creating Realistic Facial Features
Capturing the human face in sculpture requires both technical skill and an understanding of anatomy. This tutorial focuses on breaking down the face into manageable steps.
- Start with a basic head shape using a solid or hollow form.
- Mark guidelines for eyes, nose, mouth, and ears.
- Sculpt eyes as spheres, then add lids and surrounding detail.
- Shape the nose with attention to nostrils and bridge.
- Add lips, ensuring proper proportion and curvature.
Working feature by feature helps you maintain symmetry and proportion, resulting in a lifelike and expressive face.
Sculpting Dynamic Poses
Static figures can feel lifeless, but dynamic poses bring energy and storytelling to your work. Understanding balance, weight distribution, and movement is key.
- Use reference photos or live models for accuracy.
- Start with a wire armature to define the pose.
- Block in major muscle groups before refining details.
- Tilt hips and shoulders to create natural movement.
- Add clothing or drapery to enhance motion.
By focusing on gesture and flow, your sculptures will convey action and emotion, making them more engaging to viewers.
Adding Texture and Surface Detail
Texture can transform a sculpture from flat to visually rich. This tutorial explores ways to create surface interest that enhances realism or artistic style.
- Use loop tools for carving fine lines.
- Press fabrics or natural objects into clay for patterns.
- Stipple with brushes or sponges for organic textures.
- Layer slip or glaze for varied surface effects.
- Experiment with contrasting smooth and rough areas.
Thoughtful texture work adds depth and tactile appeal, inviting viewers to explore your sculpture from every angle.
Working with Different Materials
Each sculpting medium has unique properties, and learning to adapt your techniques will expand your creative possibilities.
- Clay – Versatile, easy to shape, and ideal for beginners.
- Stone – Durable and traditional, requiring chisels and patience.
- Wood – Warm and organic, shaped with carving tools.
- Wax – Excellent for fine detail and casting preparation.
- Polymer Clay – Oven-bake, colorful, and great for small projects.
Exploring multiple materials helps you discover which best suits your style and the type of work you want to create.
Finishing and Preserving Your Work
The final steps in sculpting are just as important as the creation process. Proper finishing ensures your piece looks professional and lasts for years.
- Sand or smooth surfaces after drying or curing.
- Apply sealants or varnishes for protection.
- Use patinas or paints to enhance visual impact.
- Mount or display pieces securely.
- Store in a stable environment to prevent damage.
By giving attention to finishing and preservation, you protect your hard work and present it in the best possible light.