Are you ready to bring your artistic vision to life with watercolor painting? This beautiful medium offers endless possibilities, but mastering it can feel overwhelming.
Whether you’re a beginner or looking to refine your skills, understanding key techniques is essential for creating stunning art. You’ll discover practical tips and tricks that will elevate your watercolor game.
The Allure Of Watercolor
Watercolor painting is a beautiful art form that captivates many. Its soft colors and fluid nature create stunning effects. The allure of watercolor lies in its unpredictability. Each stroke can lead to unexpected results, making every piece unique.
Why Choose Watercolor?
Watercolor painting is a popular choice for many reasons. It is accessible and versatile, making it ideal for all skill levels. Here are some reasons to consider watercolor:
- Easy to Learn: Watercolor techniques can be grasped quickly.
- Portable: Supplies are lightweight and easy to carry.
- Vibrant Colors: Watercolors create bright, eye-catching hues.
- Layering Effects: Artists can build depth with layers.
- Mixing Flexibility: Colors blend seamlessly for unique shades.
Watercolor also encourages experimentation. Artists can explore various styles, from loose washes to detailed work. This medium fosters creativity. You can create landscapes, portraits, or abstract pieces. The possibilities are endless.
Essential Supplies For Beginners
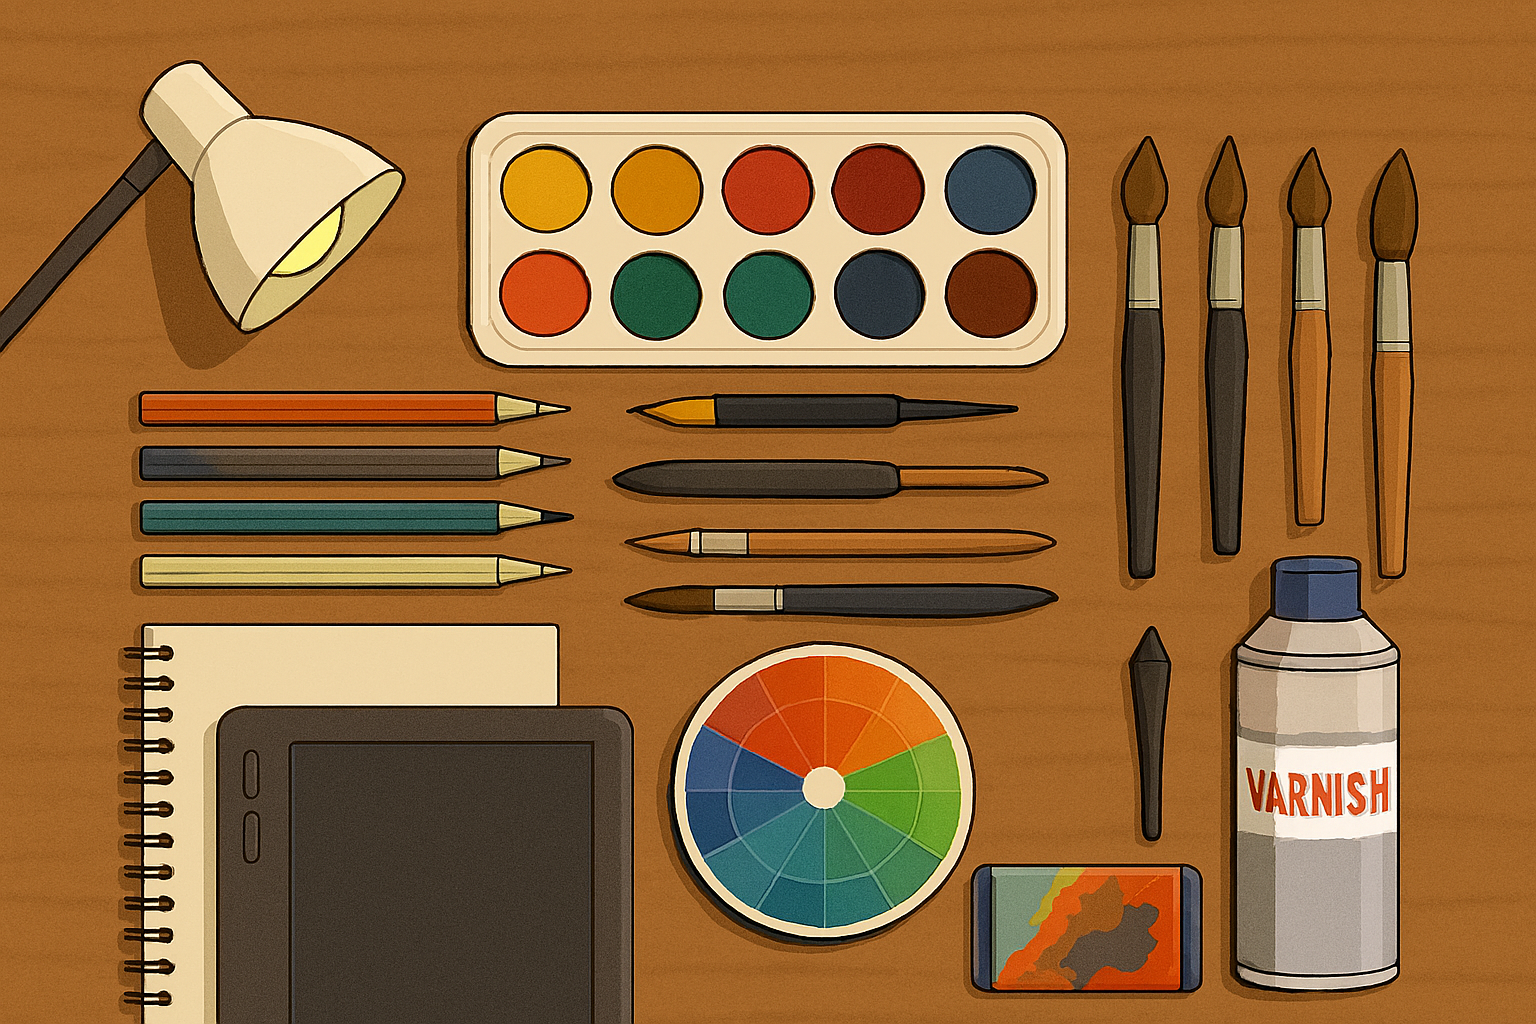
Getting started with watercolor painting requires some basic supplies. Here is a list of essential items:
- Watercolor Paints: Choose a set of quality watercolors.
- Brushes: A few different sizes and shapes work best.
- Watercolor Paper: Use paper specifically designed for watercolors.
- Pallet: A mixing palette to blend colors.
- Water Container: For rinsing brushes and mixing paints.
- Tape: To secure your paper while working.
Investing in good-quality supplies makes a difference. Watercolor paper should be thick enough to handle water. A variety of brushes allows for different techniques.
Beginners can start with student-grade supplies. As skills grow, consider upgrading to professional materials. This gradual approach helps build confidence and skill.
Fundamental Watercolor Techniques
Understanding fundamental watercolor techniques is essential for creating stunning art. These techniques provide a strong base for your work. Mastering these basics will help you explore more advanced styles and effects.
Washes: Building Your Foundation
A wash is a smooth layer of color applied to your paper. It is the foundation of many watercolor paintings. Knowing how to create different types of washes can enhance your work significantly. Here are the main types of washes:
- Flat Wash: A uniform layer of color.
- Gradient Wash: A gradual change from one color to another.
- Variegated Wash: Multiple colors blended together.
To create a flat wash:
- Wet your brush and load it with color.
- Apply the color evenly across the paper.
- Work quickly to keep the wash wet.
For a gradient wash:
- Start with a darker color at one edge.
- Gradually add water to lighten the color.
- Blend the colors smoothly to create a transition.
Here’s a simple table summarizing the steps:
| Type of Wash | Steps |
|---|---|
| Flat Wash | Evenly apply color across paper. |
| Gradient Wash | Blend darker to lighter color. |
| Variegated Wash | Mix multiple colors together. |
Practice these washes on different types of paper. This will help you understand how each paper reacts with water and paint. With time, you will feel more comfortable using washes in your artwork.

Wet-on-wet: Unleashing Fluidity
Wet-on-wet is a technique where you apply wet paint onto wet paper. This method allows colors to blend and flow freely. It creates soft edges and beautiful textures. This technique is perfect for backgrounds and loose, expressive paintings.
To try wet-on-wet:
- Wet your paper with clean water using a brush.
- Load your brush with color.
- Touch the brush to the wet paper.
Watch how the color spreads and mixes. Here are some tips for successful wet-on-wet painting:
- Use a large brush for broader strokes.
- Experiment with different colors.
- Control the amount of water on your brush.
Wet-on-wet can produce stunning effects:
| Effect | Description |
|---|---|
| Soft Edges | Colors blend smoothly without hard lines. |
| Fluid Movement | Paint flows and merges, creating dynamic shapes. |
| Textured Backgrounds | Perfect for creating rich, layered backgrounds. |
Practice this technique often. Try to capture the spontaneity of watercolor. Let colors dance and mix on your paper. With each stroke, you will grow more confident in your watercolor skills.
Achieving Detail And Texture
Achieving detail and texture is key to making your work stand out. By using specific techniques, you can enhance the depth and realism of your paintings.
Wet-on-dry: Precision And Clarity
The Wet-on-Dry technique involves applying wet paint onto dry paper. This method offers sharp lines and clear details, perfect for intricate work. Here are some points to remember:
- Ensure your paper is completely dry.
- Use a small brush for detailed areas.
- Choose vibrant colors to enhance contrast.
This technique is great for creating fine details, such as:
- Leaves and petals on flowers.
- Textures in rocks and stones.
- Facial features in portraits.
Wet-on-Dry can be challenging, but practice leads to improvement. A helpful tip is to test your colors on scrap paper first. This way, you can see how they interact before applying them to your main piece.
Lifting And Softening Edges
Lifting and Softening Edges is a technique that allows you to manipulate wet paint. You can remove or soften paint to create unique effects. This method is ideal for blending colors and softening transitions.
To lift paint, you can use:
- A clean, damp brush.
- A paper towel or sponge.
- Water to dilute the paint.
Softening edges works well for:
- Creating backgrounds that blend smoothly.
- Softening harsh lines in portraits.
- Adding depth to landscapes.
Remember to lift paint while it is still wet. If the paint dries, it becomes harder to remove. Experiment with different tools for varied effects. A damp brush can create soft transitions, while a sponge may lift paint more dramatically.
Color Theory And Mixing For Watercolor
Color theory helps artists choose and combine colors effectively. This knowledge allows for harmony and contrast in your artwork. Knowing how to mix colors can enhance your painting skills.
Understanding Your Palette
Your palette is your color playground. Choosing the right colors can transform your paintings. Start with a basic set of colors. Here are some common colors to include:
- Cadmium Red
- Cobalt Blue
- Cadmium Yellow
- Burnt Sienna
- Hooker’s Green
These colors mix well together. They create a wide range of hues. Experiment with different brands. Each brand has its own characteristics. Some colors may be more transparent or opaque than others.
Consider using a color wheel. A color wheel helps you understand color relationships. Here’s a simple color wheel:
| Primary Colors | Secondary Colors | Tertiary Colors |
|---|---|---|
| Red | Orange | Red-Orange |
| Blue | Green | Blue-Green |
| Yellow | Purple | Yellow-Green |
Understanding how colors interact is key. Complementary colors are opposite each other on the wheel. They create contrast. Analogous colors are next to each other. They create harmony.
Mixing Techniques
Mixing colors is a crucial skill in watercolor painting. There are various techniques to mix colors effectively. Start with a palette knife or your brush. Use these tools to blend colors smoothly.
Here are some popular mixing techniques:
- Wet-on-Wet: Apply wet paint onto wet paper. This creates soft edges.
- Wet-on-Dry: Apply wet paint onto dry paper. This technique gives sharp edges.
- Glazing: Layer a transparent wash over dried paint. This adds depth.
- Dry Brushing: Use a dry brush to apply paint. This creates texture.
Practice mixing primary colors to create secondary ones. For example:
- Red + Yellow = Orange
- Blue + Yellow = Green
- Red + Blue = Purple
Experiment with different ratios. A little more yellow can create a brighter orange. Mixing is about finding balance. Always test your mixes on scrap paper before applying them to your artwork. This simple step can save time and paint.
Advanced Tips For Stunning Art
In watercolor painting, preserving white areas is crucial. White spaces represent light and can add depth to your artwork. Here are some techniques to protect whites:
- Masking Fluid: Use masking fluid to cover areas you want to keep white. This liquid forms a barrier against paint.
- Wet-on-Wet Technique: Apply paint to wet paper. This allows for softer edges and helps maintain white spaces.
- Dry Brushing: This technique uses a dry brush with minimal paint. It creates highlights and texture without overwhelming whites.
Highlighting is just as important. It adds interest and dimension. Consider these methods for effective highlighting:
- Layering: Build up layers of color gradually. This will create a richer effect.
- Use of Complementary Colors: Highlights can pop with the right color choices. Pair warm and cool tones for contrast.
- Water Control: Control the amount of water on your brush. Too much water can dilute highlights.
Here’s a quick comparison of techniques for protecting whites and highlighting:
| Technique | Purpose |
|---|---|
| Masking Fluid | Protects white areas |
| Wet-on-Wet | Softens edges |
| Layering | Adds depth |
Understanding how to protect whites and enhance highlights is essential. Knowing common pitfalls and their solutions can save time and frustration.
Common Pitfalls And Solutions
Watercolor painting has its challenges. Many artists face common pitfalls. Recognizing these can help improve your artwork. Here are some frequent issues:
- Overworking the Paper: Repeated brush strokes can damage the paper. This leads to rough textures.
- Too Much Water: Using excess water can wash out colors. This results in dull paintings.
- Ignoring the Paper’s Grain: Not considering the paper’s texture can affect the final look.
Solutions to these pitfalls are simple:
- Limit Brush Strokes: Work quickly and confidently. Avoid going back to areas too often.
- Control Water Use: Test your brush on scrap paper. Ensure the right amount of water.
- Choose the Right Paper: Use high-quality watercolor paper. It will handle water better and enhance your work.
Understanding these common pitfalls and their solutions will boost your confidence. Practice these tips to create stunning watercolor art.


