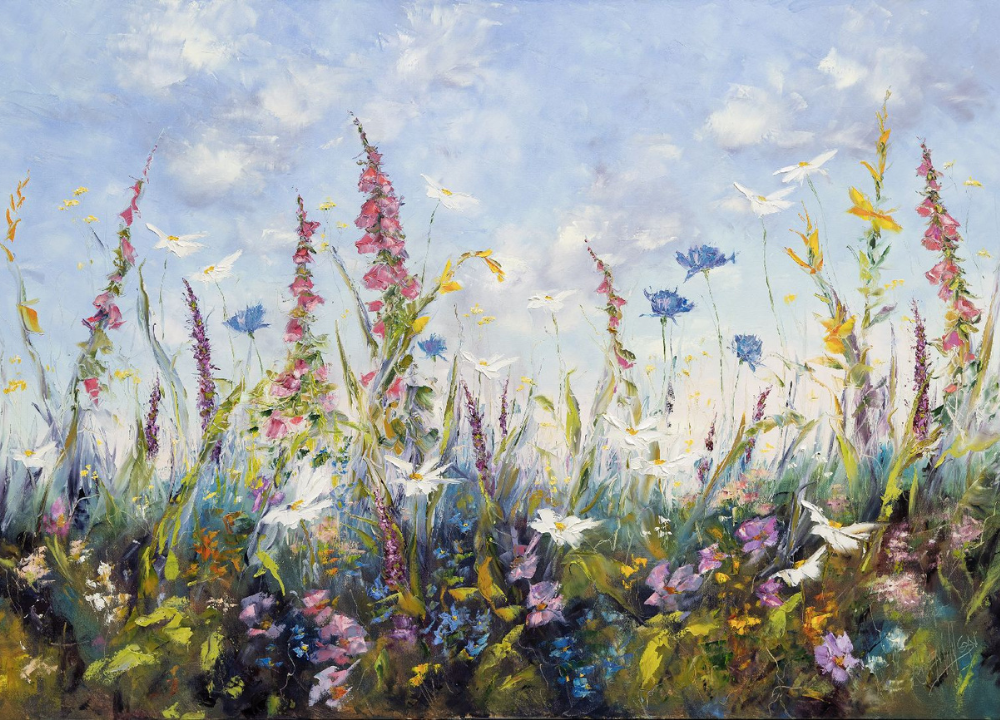
To create a beautiful floral arrangement in watercolor, start by sketching your desired flowers lightly with a pencil. Then, layer watercolors to build depth and vibrancy, focusing on blending colors harmoniously.
Watercolor floral arrangements combine artistry and nature, capturing the essence of blooms in a unique way. This medium allows for fluidity and creativity, making it ideal for both beginners and experienced artists. Choosing the right materials enhances the overall effect, from high-quality paints to the perfect brush.
Understanding color theory plays a crucial role in achieving balance and harmony in your artwork. With practice, anyone can master this technique, creating stunning pieces that evoke emotion and beauty. Let’s explore the steps to craft your own enchanting watercolor floral arrangement, bringing your artistic vision to life.
Choosing Your Flowers
Creating a beautiful floral arrangement in watercolor starts with choosing the right flowers. The flowers you select can greatly influence the overall look of your artwork. They set the mood and tone for your painting. Picking the right flowers can make your arrangement vibrant and full of life. This section will help you understand how to choose flowers based on seasons and colors.
Seasonal Selections
Choosing flowers based on the season can enhance your watercolor arrangement. Seasonal flowers are fresher and more vivid. Here are some popular options:
- Spring: Tulips, Daffodils, Cherry Blossoms
- Summer: Sunflowers, Peonies, Zinnias
- Fall: Chrysanthemums, Asters, Marigolds
- Winter: Poinsettias, Amaryllis, Holly
Consider this table for a quick overview of seasonal flowers:
| Season | Flowers |
|---|---|
| Spring | Tulips, Daffodils, Cherry Blossoms |
| Summer | Sunflowers, Peonies, Zinnias |
| Fall | Chrysanthemums, Asters, Marigolds |
| Winter | Poinsettias, Amaryllis, Holly |
Seasonal flowers not only look good but also fit well in your painting. They add a natural touch and authenticity to your artwork.
Color Combinations
Color plays a huge role in floral arrangements. Different colors evoke different feelings. Understanding color combinations helps create harmony in your painting.
Here are some popular color schemes:
- Monochromatic: Different shades of one color.
- Analogous: Colors next to each other on the wheel.
- Complementary: Opposite colors, like blue and orange.
Consider these tips for choosing colors:
- Pick a dominant color.
- Choose 1-2 accent colors.
- Use neutral colors to balance.
Check this table for color combinations:
| Color Scheme | Example Colors |
|---|---|
| Monochromatic | Light Blue, Blue, Dark Blue |
| Analogous | Red, Red-Orange, Orange |
| Complementary | Yellow and Purple |
Choosing the right colors will make your floral arrangement pop. A good color scheme brings joy to your watercolor painting.
Gathering Supplies
Creating a beautiful floral arrangement in watercolor is a fun and rewarding project. Gathering the right supplies is the first step to success. With the right tools and paper, you can express your creativity. Let’s dive into what you need to get started!
Essential Tools
Having the right tools makes a big difference. Here’s a list of essential items for your watercolor floral arrangement:
- Watercolor Paints: Choose high-quality paints for vibrant colors.
- Brushes: Use a variety of brushes. Round brushes are great for details. Flat brushes work well for washes.
- Palette: A mixing palette helps blend colors easily.
- Water Container: Keep water handy for rinsing brushes and mixing paints.
- Towel or Rag: Useful for drying brushes and cleaning spills.
Here’s a quick overview of the essential tools:
| Tool | Purpose |
|---|---|
| Watercolor Paints | Provides color for your artwork. |
| Brushes | Helps apply paint smoothly. |
| Palette | Mixes colors together. |
| Water Container | Keeps brushes clean and moist. |
| Towel or Rag | Cleans messes and dries brushes. |
These tools will help you create stunning floral arrangements. Make sure to gather them all before you begin!
Paper Types
The type of paper you use is crucial for watercolor painting. Not all paper works well with watercolors. Here are the best options:
- Watercolor Paper: This paper is thick and absorbs water well.
- Cold Press Paper: It has a textured surface. It holds paint nicely.
- Hot Press Paper: This paper is smooth. It is great for fine details.
- Mixed Media Paper: This paper works for both wet and dry media.
Here’s a comparison of different paper types:
| Paper Type | Features |
|---|---|
| Watercolor Paper | Thick and absorbent. |
| Cold Press Paper | Textured surface for depth. |
| Hot Press Paper | Smooth for detailed work. |
| Mixed Media Paper | Versatile for various techniques. |
Select the right paper for your style. Quality paper ensures better results and enhances your artwork.
Sketching The Design
Creating a beautiful floral arrangement in watercolor starts with a solid sketch. Sketching the design allows you to plan shapes and colors. It helps you visualize the final piece. This stage is essential for capturing the essence of your flowers. You can make adjustments before adding color. Let’s explore how to effectively sketch your floral design.
Basic Shapes
Understanding basic shapes is key to successful floral sketches. Flowers and leaves can be broken down into simple forms. This makes it easier to draw them accurately. Here’s how to start:
- Circles for blooms.
- Ovals for petals.
- Triangles for leaves.
- Lines for stems.
Begin by drawing light outlines using these shapes. Focus on the overall structure first. Here’s a simple table to help you remember the shapes:
| Flower Part | Basic Shape |
|---|---|
| Bloom | Circle |
| Petal | Oval |
| Leaf | Triangle |
| Stem | Line |
After sketching basic shapes, add details. Draw petal edges and leaf veins. Keep practicing these shapes. They form the foundation of your floral arrangement.
Composition Tips
Good composition makes your watercolor arrangement stand out. Here are some tips to create a balanced design:
- Rule of Thirds: Divide your canvas into thirds. Place key elements at intersections.
- Variety: Use different flower sizes and shapes. This adds interest.
- Focus Point: Choose one flower as the focal point. Surround it with supporting flowers.
- Negative Space: Leave some areas empty. This prevents clutter and highlights your flowers.
Try sketching multiple layouts. Experiment with flower placement and angles. This helps you find the best arrangement. A quick checklist for composition:
- Identify the focal flower.
- Arrange smaller flowers around it.
- Include leaves and filler flowers for balance.
- Ensure even spacing between elements.
Remember, practice is vital. Sketch several compositions before deciding on one. Each sketch brings you closer to a stunning watercolor floral arrangement.
Laying The Base Wash
Creating a beautiful floral arrangement in watercolor starts with laying a solid base wash. This step sets the tone for your artwork. A well-executed base wash enhances the vibrancy of your flowers. It also adds depth and dimension to your painting. Understanding color mixing and water control is essential. These techniques help achieve stunning results.
Color Mixing
Color mixing is a crucial part of laying the base wash. The right colors create a harmonious background. Use a color wheel to guide your choices. Follow these steps for effective color mixing:
- Choose Your Palette: Select a few colors that complement each other.
- Mix on Palette: Combine colors on your palette. Aim for a smooth blend.
- Test on Paper: Always test your mix on scrap paper.
Here’s a simple table to help with color combinations:
| Base Color | Complementary Color | Effect |
|---|---|---|
| Blue | Orange | Creates a calming effect |
| Yellow | Purple | Adds brightness and warmth |
| Red | Green | Gives a fresh look |
Mixing colors takes practice. Spend time experimenting. Create various shades and tints. This will make your base wash more dynamic.
Water Control
Water control is vital for achieving the desired effect in your base wash. Too much water can lead to a washed-out look. Too little water creates harsh lines. Follow these tips to master water control:
- Use the Right Brush: Choose a brush that holds enough water. Round brushes work well.
- Load Your Brush: Dip your brush in water before adding paint. This helps the color flow.
- Practice Wet-on-Wet: Apply wet paint on wet paper. This technique creates soft edges.
Here’s a quick guide for water ratios:
| Water Ratio | Effect |
|---|---|
| 1 part water, 1 part paint | Bright and bold color |
| 2 parts water, 1 part paint | Soft and pastel look |
| 3 parts water, 1 part paint | Very light wash |
Control your water usage for better results. Practice makes perfect. Enjoy the process of creating your floral watercolor masterpiece.
Building Layers
Creating a beautiful floral arrangement in watercolor is all about building layers. This process adds richness and vibrancy to your artwork. Each layer enhances the flowers’ shapes and colors. Start with light washes, then move to darker tones. This approach ensures your arrangement looks lively and three-dimensional.
Adding Depth
To achieve depth in your floral arrangement, focus on using different shades of colors. Start with a light base layer. Here’s how:
- Choose your main colors.
- Mix the colors with water for a lighter shade.
- Apply this light wash to your paper.
- Let it dry completely.
- Now, mix a darker shade of the same color.
- Paint shadows under the petals and leaves.
Using this method creates a visual contrast. The lighter areas pop against the darker tones. Consider these tips:
- Use a wet-on-dry technique for crisp lines.
- Layer your colors gradually.
- Step back to see the overall effect.
Here’s a quick reference table:
| Color Shade | Purpose |
|---|---|
| Light | Base layer for flowers |
| Medium | Middle layers for depth |
| Dark | Shadow and detail |
Remember, layering is key. Keep practicing to get better!
Creating Texture
Texture adds a unique touch to your floral arrangement. It makes your painting come alive. Here are some techniques to create texture:
- Use a dry brush technique.
- Try splattering paint for a spontaneous look.
- Incorporate different brush strokes.
Each technique offers a different feel. For example:
- Dry Brush: Lightly drag a dry brush over your painting for rough edges.
- Splattering: Dip your brush in paint and flick it onto your paper.
- Dabbing: Use a sponge for a soft, blended look.
Texture can be added in layers too. Here’s a quick guide:
| Technique | Effect |
|---|---|
| Dry Brush | Creates rough surfaces |
| Splattering | Adds random patterns |
| Dabbing | Softens edges |
Experiment with these techniques. Your floral arrangement will look stunning!
Detailing The Flowers
Creating a beautiful floral arrangement in watercolor is a delightful process. Detailing the flowers adds depth and charm to your artwork. Focus on the unique features of each flower. Use various techniques to bring your flowers to life. This section will guide you through important methods to detail petals and leaves.
Petal Techniques
Understanding petal techniques is crucial for a stunning floral arrangement. Each flower has its own shape and texture. Here are some effective methods:
- Wet-on-Wet Technique: Apply wet paint onto wet paper. This creates soft edges.
- Dry Brush Technique: Use a dry brush for texture. It gives petals a rough look.
- Layering Color: Start with light colors. Gradually add darker shades for depth.
- Negative Space: Leave some areas unpainted. This highlights the flower’s shape.
Here’s a simple table to summarize the petal techniques:
| Technique | Description |
|---|---|
| Wet-on-Wet | Soft edges, blends colors. |
| Dry Brush | Textured look, rough edges. |
| Layering Color | Builds depth with darker shades. |
| Negative Space | Highlights shape, creates contrast. |
Practice these techniques with different colors. Experiment with shapes to create unique petals. Enjoy the process of bringing your flowers to life!
Leaf Variations
Leaves add balance to your floral arrangement. Leaf variations can enhance your artwork. Different shapes and shades make your painting vibrant. Here are key techniques to consider:
- Shape Variations: Use round, pointed, or oval shapes for diversity.
- Color Blending: Mix greens and yellows. This creates a natural look.
- Brush Techniques: Use a flat brush for broad strokes. A round brush works well for details.
- Shadowing: Add darker shades on one side for depth.
Check out this table for quick reference on leaf variations:
| Technique | Description |
|---|---|
| Shape Variations | Different shapes for visual interest. |
| Color Blending | Natural look with mixed greens. |
| Brush Techniques | Flat brush for broad, round for detail. |
| Shadowing | Adds depth and realism. |
Explore these leaf techniques to create lush foliage. Combine different leaves for a fuller look. Enjoy experimenting with colors and shapes!
Finishing Touches
Creating a beautiful floral arrangement in watercolor is a delightful process. The finishing touches can elevate your artwork from good to stunning. These final steps bring depth and character. They highlight your flowers and add a unique background.
Highlights And Shadows
Adding highlights and shadows is crucial for a realistic look. Highlights bring light to your flowers, while shadows create depth. Here are some tips to perfect this aspect:
- Choose Your Colors Wisely: Use lighter shades for highlights and darker shades for shadows.
- Layering: Apply multiple layers to create more depth. Start with a light wash and gradually add darker tones.
- Use Water: Wet the area before applying colors to create soft edges.
Use the following table to understand color choices better:
| Flower Color | Highlight Color | Shadow Color |
|---|---|---|
| Red | Pink | Dark Red |
| Yellow | Light Yellow | Gold |
| Blue | Light Blue | Navy Blue |
Remember, highlights should be bright and cheerful. Shadows should be soft and subtle. Together, they create a balanced and beautiful floral arrangement.
Background Choices
The background you choose significantly impacts your floral arrangement. A well-chosen background enhances your flowers and draws attention to them. Here are some popular options:
- Solid Colors: Simple and effective. Choose a color that contrasts with your flowers.
- Gradient Wash: Blend two or more colors for a soft effect. This adds depth without overwhelming your flowers.
- Textured Background: Use techniques like salt or plastic wrap to create unique textures.
Consider these tips for selecting the right background:
- Test colors on a scrap piece of paper.
- Keep backgrounds simple to avoid distraction.
- Use complementary colors to make your flowers pop.
Experiment with different backgrounds to find what works best for your arrangement. A thoughtful background choice can elevate your watercolor artwork to new heights.
Conclusion
Creating a beautiful floral arrangement in watercolor is both rewarding and enjoyable. With practice, your skills will improve. Embrace creativity and experiment with colors and techniques. Share your artwork with friends and family to inspire them. Start your floral journey today, and let your imagination bloom on paper!


